
Well-known company ST Microelectronics develops a new product, called STM32CubeMx. The main aim of STM32CubeMx is to make the process of development an application much more easier. So, I've decided to post a full tutorial which should help you to start working with STM32CubeMx and HAL Driver.
STM32CubeMx is a very powerful framework with an intuitive interface which helps user to configure any microcontroller unit, for example, analog-to-digital converter (ADC), direct memory access controller (DMA) or any other. However, it is not sufficient to start developing, because it doesn't involve an IDE, it just generates code and project files. After that you can open and edit generated project with the help of the chosen IDE.
The process of creating a new project with STM32CubeMx consists of several steps:
- first of all, we choose the MCU
- after that Cube immideately offers a schematic with all available microcontroller units and modules, so we can select and configure any of them.
- then we open the Settings menu and choose an IDE which we would like to use
- and the final step is to save our project and to generate all needed files. This process is almost automatic, we should just press a special button 🙂
The generated code is based on two libraries. They are CMSIS and HAL Driver Library which replaced Standard Peripheral Library. These libraries (SPL and HAL) are, in principle, very similar, but STM32CubeMx supports only HAL Driver. The main aim of HAL is to speed up the process of developing. While using this library, we don't need to operate with any low-level code, we just use 2-3 high-level functions which can do all the work.
So, let's look at the simple project which configures some of general-purpose I/Os with the help of this great instrument!
I decided to use STM32F4, but actually it doesn't matter, because the process of creating the project with STM32CubeMx framework is almost similar for different MCUs (STM32F1, STM32F4 etc). In order to begin our work we should download two packages from st.com. The first is STM32CubeMx itself. It is a GUI application which helps us to configure all needed units. And the second package is a set of libraries needed by STM32CubeMx to generate user code and project files. Actually we don't need to download it manually, CubeMx can do it itself when we start the project generation.
We must also note that ST libraries come with a great amount of different examples, where you can find both simple projects and complex solutions. So, let's start with our project!
First of all install and run STM32CubeMx application:
Press "New project" option and proceed to the next window. Here we can see a lot of available MCUs. So I'll use STM32F407VGTx:
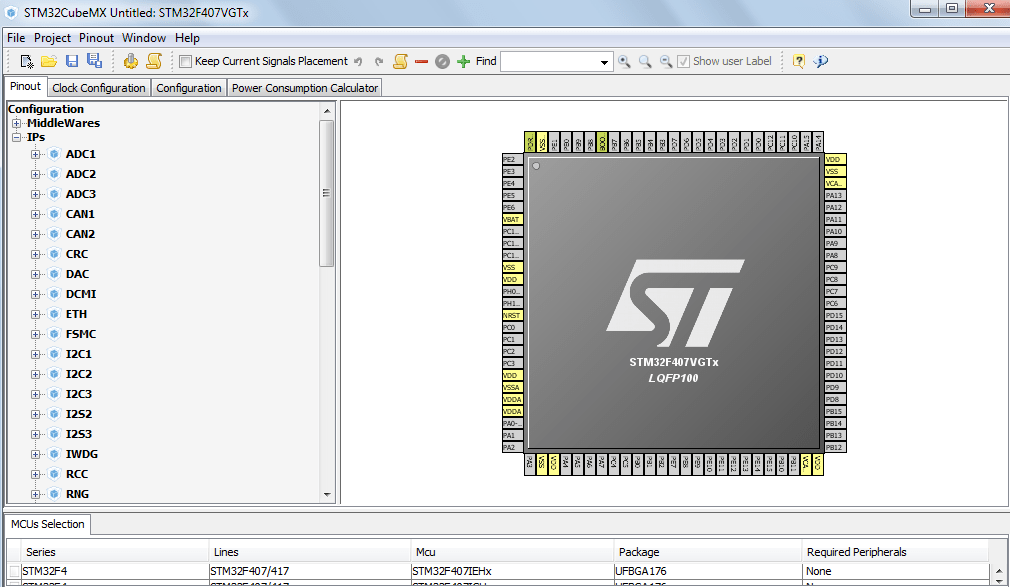
After choosing the microcontroller we pass to the main window, where we can see the pinout and different units for configuring. We can also activate or deactivate RTOS or FAT in our project. It can be done by clicking on proper item at the left part of the window (tab "Pinout").
Setting up the project is also should be done before generating any code. In order to do this we should go to the "Project" menu at the top of the window and select "Settings". The most important point is to select the Toolchain/IDE which we will use:
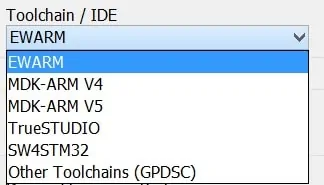
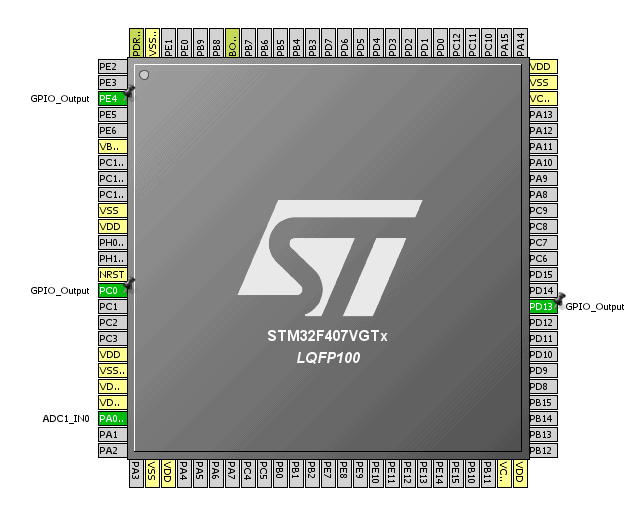
I prefer IAR embedded workbench, so my choise is "EWARM". After these preparations we can proceed to MCU configuration. Let's choose the first ADC channel (PA0) and three simple GPIOs, working at the "GPIO_Output" mode. If we want to change the selected mode, we should click on the pin and choose the proper mode in the drop-down list:
Now we are ready to start the project files generation! To execute this operation we should click on the button:

After that we can open the project folder and see new generated files. They are located in inc, src subfolders. The main() function can be found in main.c file:
int main(void)
{
	/* USER CODE BEGIN 1 */

	/* USER CODE END 1 */

	/* MCU Configuration----------------------------------------------------------*/

	/* Reset of all peripherals, Initializes the Flash interface and the Systick. */
	HAL_Init();

	/* Configure the system clock */
	SystemClock_Config();

	/* System interrupt init*/
	/* Sets the priority grouping field */
	HAL_NVIC_SetPriorityGrouping(NVIC_PRIORITYGROUP_0);
	HAL_NVIC_SetPriority(SysTick_IRQn, 0, 0);

	/* Initialize all configured peripherals */
	MX_GPIO_Init();
	MX_ADC1_Init();

	/* USER CODE BEGIN 2 */

	/* USER CODE END 2 */

	/* USER CODE BEGIN 3 */
	/* Infinite loop */
	while (1)
	{
	}
	/* USER CODE END 3 */
}
Since we have chosen some GPIOs and one ADC1 channel, STM32CubeMx generated initialization functions for this modules. So, we don't need to do this manually, we just open the generated project and write high-level code 🙂
Now you see, that STM32CubeMx really helps to improve the process of application development and makes it much more easier and faster!
 usage with STM32CubeMx.")

.")
